
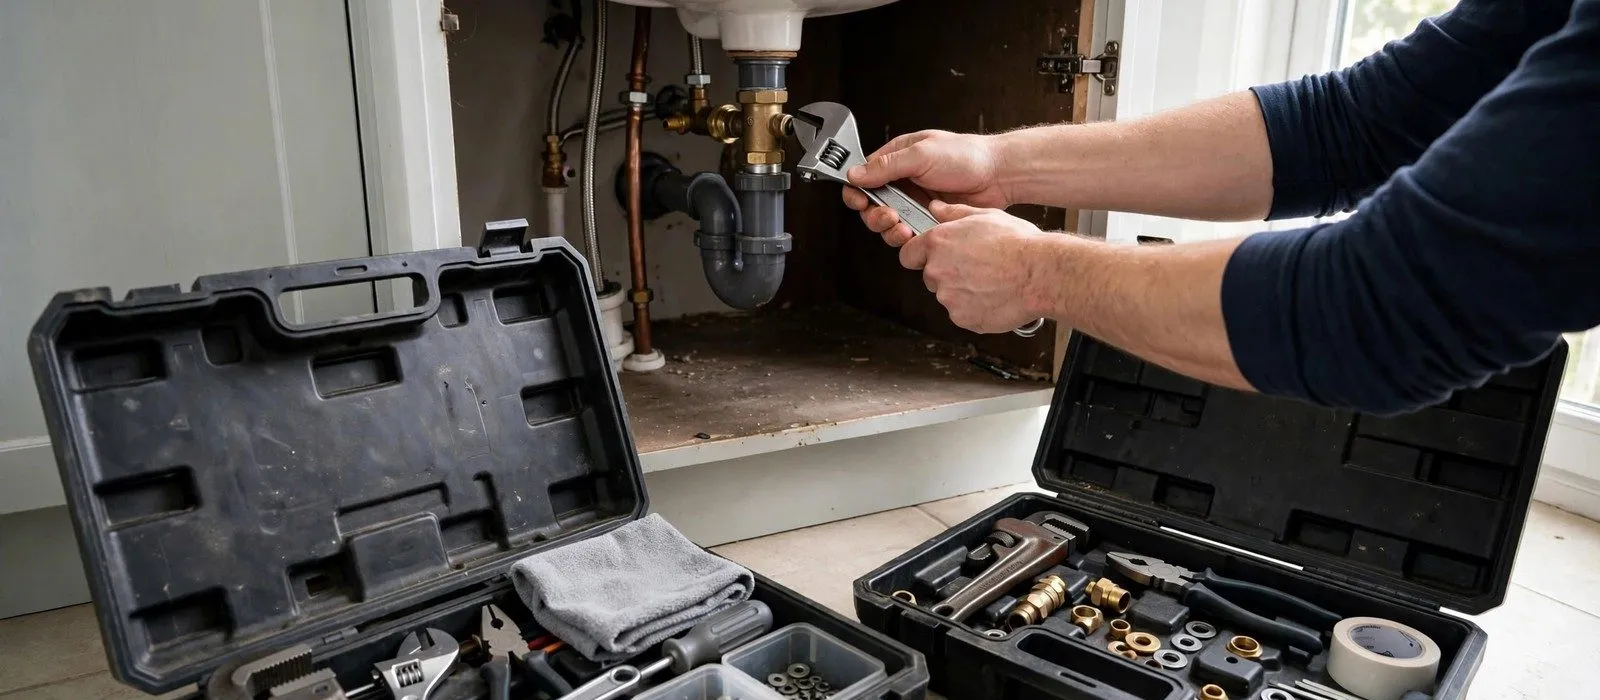
What a P-trap does and when it needs replacing
A P-trap is the curved pipe under a sink that holds a small plug of water. That water seals the drain against sewer gas, which is why a dry or leaking trap in a La Mesa, CA home can bring a rotten smell along with a wet cabinet. Replacement is a simple job on most sinks.
Replace the trap when it is cracked, corroded through, warped from heat or stripped at the threads. Tightening a slip nut fixes a loose joint. A cracked pipe or a worn washer is not a tightening problem.
Leaking trap or clogged drain
The two problems look alike under a sink, but the fixes are different. Use this to decide before you buy anything.
Leaking trap
- Drips appear at the nuts or the bottom of the U.
- Cabinet floor is wet or swollen.
- Water level in the sink drains normally.
- Drip increases when the sink empties.
- Wiping the pipe dry shows the exact spot.
Clog
- Water drains slowly or backs up in the sink.
- Gurgling from the drain.
- Standing water in the basin.
- Cabinet stays dry.
- A cable or plunger may help.
Replacing a P-trap, one step at a time
Clear the cabinet and set a bucket
Empty the cabinet. Put a bucket under the trap, because it holds standing water and whatever debris is inside.
Loosen the slip nuts
There is a slip nut at each end of the trap. Turn them counterclockwise by hand. Use pliers only on stubborn plastic ones, and do not crush the threads.
Pull the old trap and check the pieces
Slide the trap off. Look at the tailpiece coming down from the sink and the trap arm going into the wall. If either is cracked or corroded, replace it with the trap.
Test fit the new trap
Fit the new parts dry, before tightening anything. The tailpiece should drop straight and the trap arm should slope slightly toward the wall. The pieces must line up without strain.
Seat the washers and tighten
Slide each slip nut on first, then the beveled washer with the bevel facing the joint. Tighten by hand plus a quarter turn with pliers.
Run water and watch
Fill the basin, pull the stopper and let it drain while you run a dry paper towel over each joint. Check again after an hour.
Why tailpiece alignment matters
Most repeat leaks come from a misaligned joint. If the sink tailpiece sits an inch off from the trap arm, tightening the nut pulls the pipe sideways and the washer never seats flat. Cut the tailpiece shorter or add a trap adapter so the parts meet in a straight line.
The trap arm should also slope slightly toward the wall so water flows out and the U still holds its water seal. Sight along the pipe before you tighten the last nut.
Matching the trap size to your sink
Trap pipe comes in two common diameters. Measuring takes a minute and saves a return trip to the store.
| Fixture | Usual pipe size | Notes |
|---|---|---|
| Bathroom sink | 1-1/4 inch | Smaller tailpiece, often thin chrome. |
| Kitchen sink | 1-1/2 inch | Thicker pipe, handles food waste. |
| Tub or shower. | 1-1/2 inch | Often a different trap style. |
| Laundry standpipe | 2 inch | Not the same part, ask a plumber. |
| Mixed sizes in one run. | Needs an adapter. | Reducing washers can bridge a small gap. |
Measure the outside diameter of the tailpiece, not the nut. Compare it to the new pipe before you leave the store.
Plastic or brass, and what else to buy
Plastic (PVC or polypropylene)
Light, cheap and corrosion-proof. It is the usual choice for kitchens and bathrooms and is easy to cut with a hacksaw.
Chrome-plated brass
Looks neater in an exposed vanity and is sturdier. Brass can corrode from the inside if the drain carries harsh cleaners.
Solid brass in heavy gauge
Choose it when the trap is visible or sees heavy use. It lasts for decades but costs more than plastic.
Flexible traps
Corrugated traps trap hair and grease and are prone to leaks. Use rigid pieces when you can.
New washers every time
Even if the trap is fine, replace the slip washers. Old ones flatten and weep.
When a trap leak points to a larger drain problem
A trap that leaks again after replacement may be under strain from a downstream clog. When the drain backs up, water pressure builds and pushes at every joint. If you fix the trap and the sink still drains slowly, the blockage is further along, and a drain that is slow all the way to the wall needs cleaning rather than new parts.
Another warning sign is a trap that sits low or crooked because the wall stub-out has shifted. That is a repair behind the wall. The same goes for a trap arm that slopes the wrong way or an S-trap, which can siphon dry. Replacing it with a proper P-trap and vent is a small remodel job.
Drips that look like trap leaks
Before you buy parts, make sure the trap is the source. Water can run down a supply line, drip from a faucet base or trickle from a sprayer hose and land in the trap area. Dry everything, then put a dry tissue under each joint in turn.
If the moisture traces up to the fixture, your repair is a leaky faucet or a worn supply connection, not a trap. Fixing the right thing the first time saves a second cabinet cleanup.
Safety and cleanup
Skip chemical openers
Drain chemicals sit in the trap and splash when you open it. Use gloves and eye protection if you used any.
Dry the cabinet
A wet cabinet floor grows mold in days. Fan it out and replace swollen particleboard.
Watch for sewer smell
If the odor returns after the new trap goes in, the vent or the wall connection may be at fault. Call a plumber.
Know your limits
Anything involving cutting into the wall, cast iron or a glued joint behind drywall deserves a licensed plumber.
Households in Lemon Grove and Spring Valley can call our 24/7 line when a trap leak turns into a flood. The price is given in writing before work starts.
What La Mesa homeowners should know
Lemon Grove had about 9,345 housing units in 2020, and 46.7 percent were renter-occupied. If you rent, a leaking trap is usually something to tell your landlord about quickly, not to fix with your own tools. Report the leak in writing as soon as you see it and keep a copy.
Photograph the wet cabinet, the drip and any damage to your belongings before you clean up, and add the date. Prompt reporting protects you if a small leak becomes a large repair, and it gives the landlord's plumber a clear picture of what happened.
Sources used: U.S. Census 2020 housing figures for Lemon Grove, general plumbing practice. Plumbing work in California follows the California Plumbing Code, which is based on the Uniform Plumbing Code (UPC).
Quick answers
The washer may be flattened, the threads stripped or the pipe cracked. Over-tightening plastic nuts can also warp them. Dry the joint and look for the actual source. If the leak persists after new washers, replace the whole trap.
No. Slip joints seal by compressing a beveled washer, not by thread sealant. Tape or putty on the washer can hold the joint open. Use fresh washers and make sure the bevel faces the joint.
Plastic traps often last 15 to 25 years if they are not stressed by chemicals or heat. Brass can last longer but may corrode from within. Replace any trap that looks swollen, pitted or crusty.
Not usually. Many homeowners can do it. Call a plumber if the pipe in the wall is damaged, the trap has no vent, the drain keeps backing up or you are not comfortable doing the work.
Tell your landlord right away, preferably in writing. Photograph the leak and any damage with a date. Mop up what you can and move belongings from the cabinet. Do not hire a plumber on your own unless your lease allows it.